Setting up a Lasting Power of Attorney – The Steps
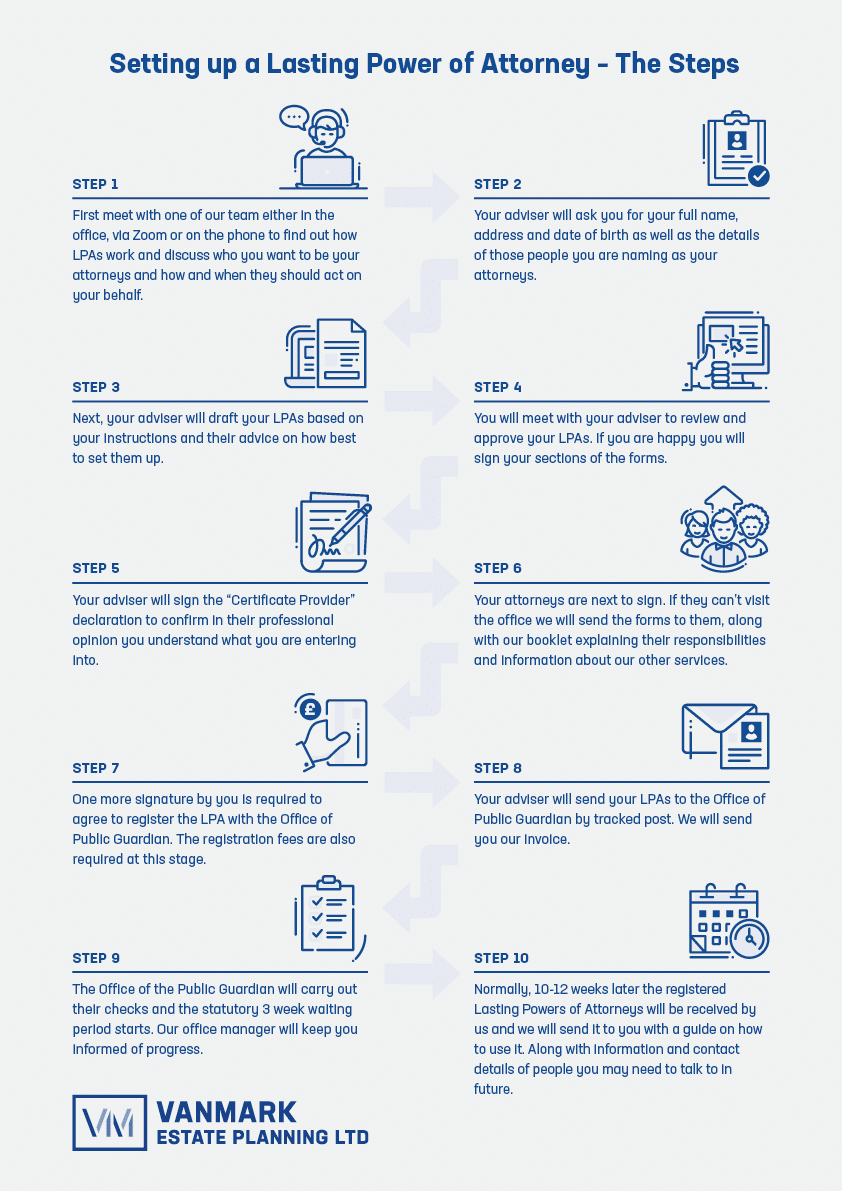
The 10 steps for setting up a Lasting Power of Attorney and includes a free downloadable infographic from Vanmark Estate Planning.
STEP 1
First meet with one of our team either in the office, via Zoom or on the phone to find out how LPAs work and discuss who you want to be your attorneys and how and when they should act on your behalf.
STEP 2
Your adviser will ask you for your full name, address and date of birth as well as the details of those people you are naming as your attorneys.
STEP 3
Next, your adviser will draft your LPAs based on your instructions and their advice on how best to set them up.
STEP 4
You will meet with your adviser to review and approve your LPAs. If you are happy you will sign your sections of the forms.
STEP 5
Your adviser will sign the “Certificate Provider” declaration to confirm in their professional opinion you understand what you are entering into.
STEP 6
Your attorneys are next to sign. If they can’t visit the office we will send the forms to them, along with our booklet explaining their responsibilities and information about our other services.
STEP 7
One more signature by you is required to agree to register the LPA with the Office of Public Guardian. The registration fees are also required at this stage.
STEP 8
Your adviser will send your LPAs to the Office of Public Guardian by tracked post. We will send you our invoice.
STEP 9
The Office of the Public Guardian will carry out their checks and the statutory 3 week waiting period starts. Our office manager will keep you informed of progress.
STEP 10
Normally, 10-12 weeks later the registered Lasting Powers of Attorneys will be received by us and we will send it to you with a guide on how to use it. Along with information and contact details of people you may need to talk to in future.

